How to Build forms that sends emails with file attachments using React and EmailJS.
I would say more than 80% of content online only has tutorials on how to send emails without file attachments using EmailJs and React. So in this article, I'd be showing you how to build a form that sends emails with file attachments. Before going too far, you need to have knowledge of react and please note that sending file attachments with EmailJs requires you to be on a paid plan.
Step 1: Setup your Project.
I will be using React Vite for this project for fast and great development experience. You can create a new project by using npm create vite@latest, select the template you want either Javascript or Typescript then follow the stated instructions after creating the project.
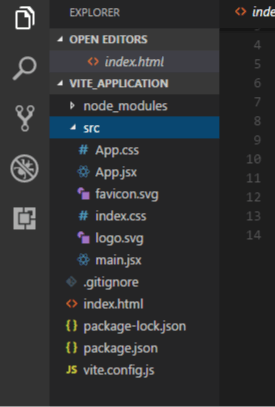
Now we will be adding the EmailJs package to our project. To install the package, run
npm install emailjs-com
Step 2: Setup EmailJS
Head over to the EmailJS website and sign up for an account.
Once you're signed in, navigate to the Services page and click the "Add new service" button. Give your service a name, and then select the email provider you want to use (e.g. Gmail, Outlook, etc.).

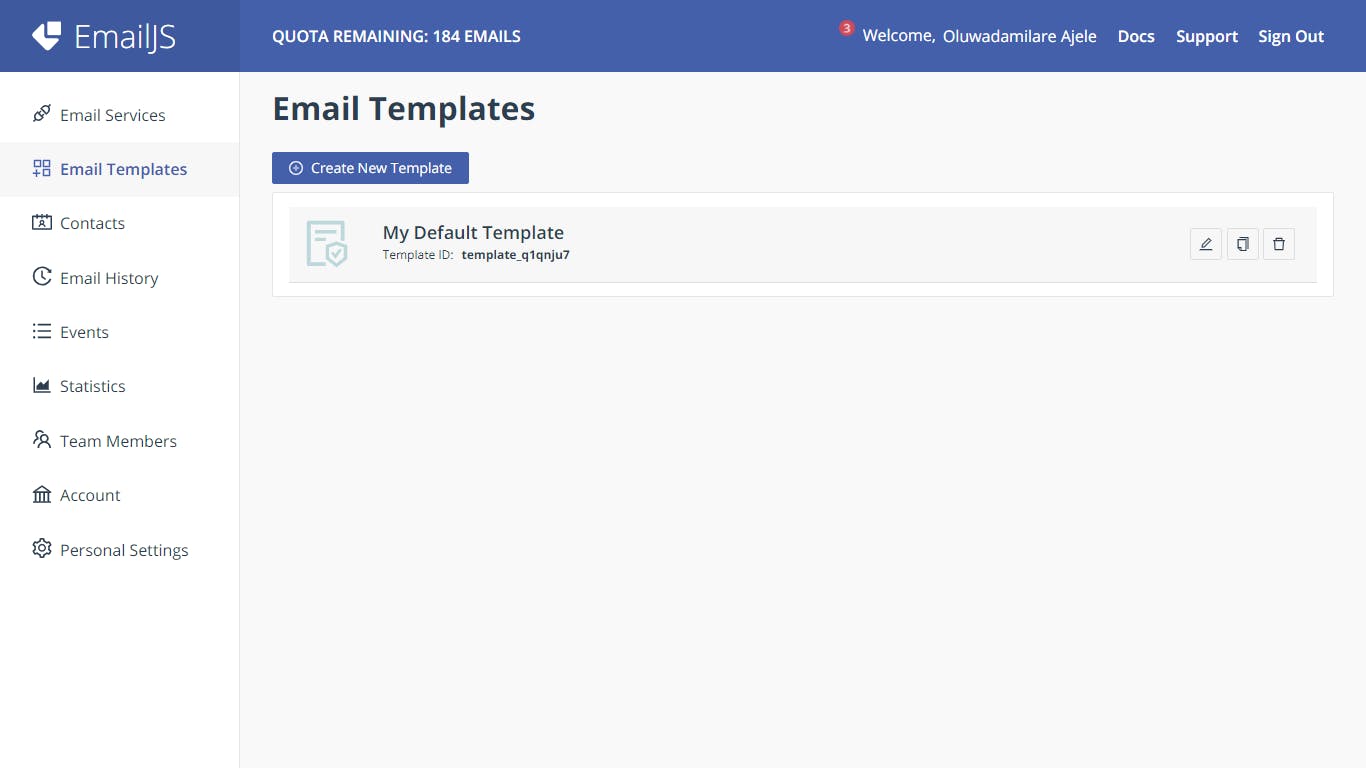
Next, we'll create an EmailJS template. Navigate to the Templates page and click the "Add new template" button. Give your template a name, and then fill in the email subject and body.
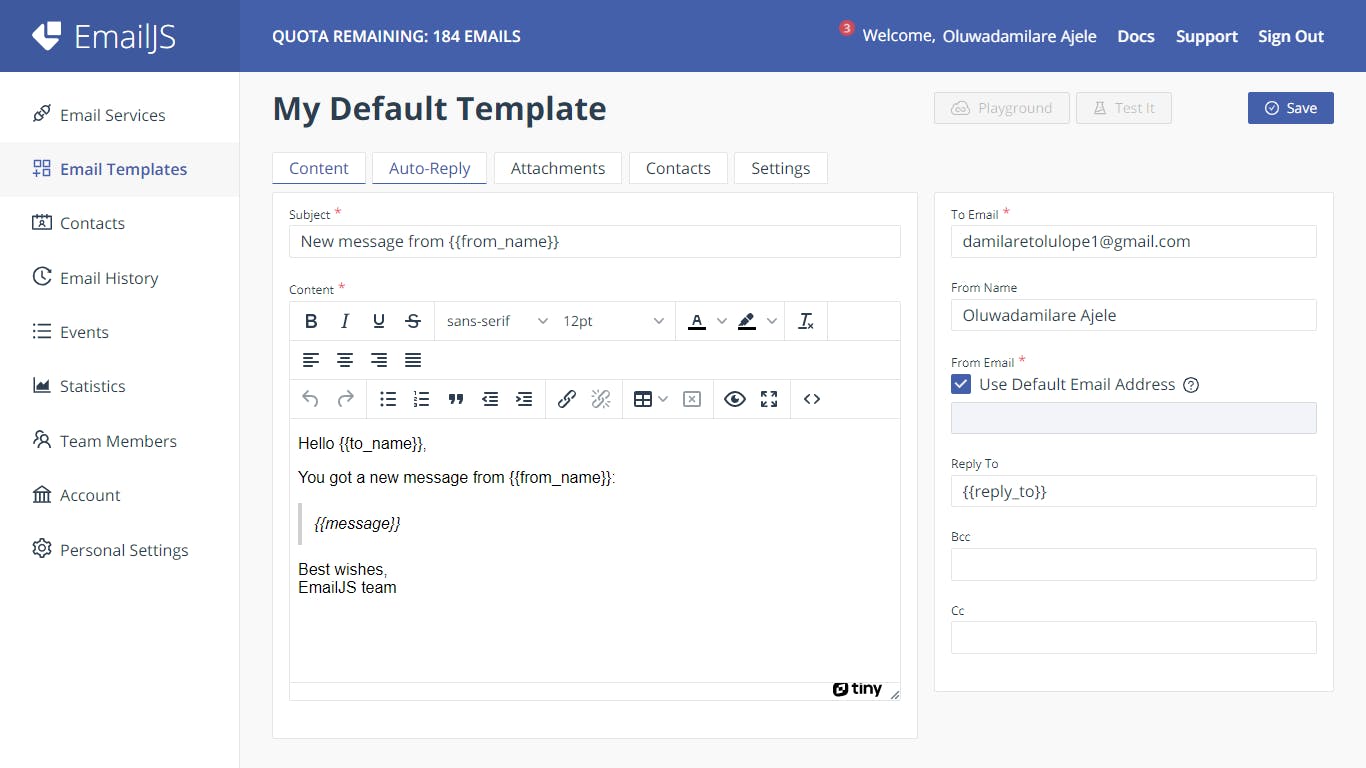
Step 3: Create a form with a file input
Now that we have our EmailJS service and template set up, we can create a form that allows users to upload files. Here's an example form.
import React, { useState } from "react";

function App() {
  const [file, setFile] = useState(null);

  const handleSubmit = (event) => {
    event.preventDefault();
    // TODO: send email with file attachment
  };

  return (
    <form onSubmit={handleSubmit}>
      <label>
        File:
        <input type="file" onChange={(e) => setFile(e.target.files[0])} />
      </label>
      <button type="submit">Submit</button>
    </form>
  );
}

export default App;
With our form in place, we can now send the email with the file attachment. Now we'll use the EmailJs package we installed:
import emailjs from "emailjs-com";
  const handleSubmit = (event) => {
    event.preventDefault();

    //We need to convert the file to base64 so we use the inbuilt javascript
    // FileReader class
    const reader = new FileReader();
    reader.readAsDataURL(file);

    reader.onload = async (e) => {

    const serviceId = "YOUR_SERVICE_ID";
    const templateId = "YOUR_TEMPLATE_ID";
    const userId = "YOUR_USER_ID";

    const emailParams = {
      to_name: "Recipient Name",
      from_name: "Your Name",
      message: "Email message here",
      file: reader.result;
    };

    emailjs.send(serviceId, templateId, emailParams, userId)
        .then((result) => {
            console.log(result);
        }, (error) => {
            console.log(error)
        })
    }
  };

  return
User ID - Go to emailjs dashboard, click on your name on the top right corner. There you will find your Public key, that's your user ID.
Template ID: This is gotten from the template you created.
Service ID: This is gotten from the service you created.
Step 4: Configure your EmailJs
Now we configure the EmailJs so that it can handle the incoming file attachment.
On the email template created then click on the attachment tab .

Filename - The name that will show on the file attachment in the email.
Content Type - The email service will use this content type to render the file.
Parameter Name - This name is the same name you stored your file in the emailParams object.
Always click on Save after every changes. Now click on the Content tab.
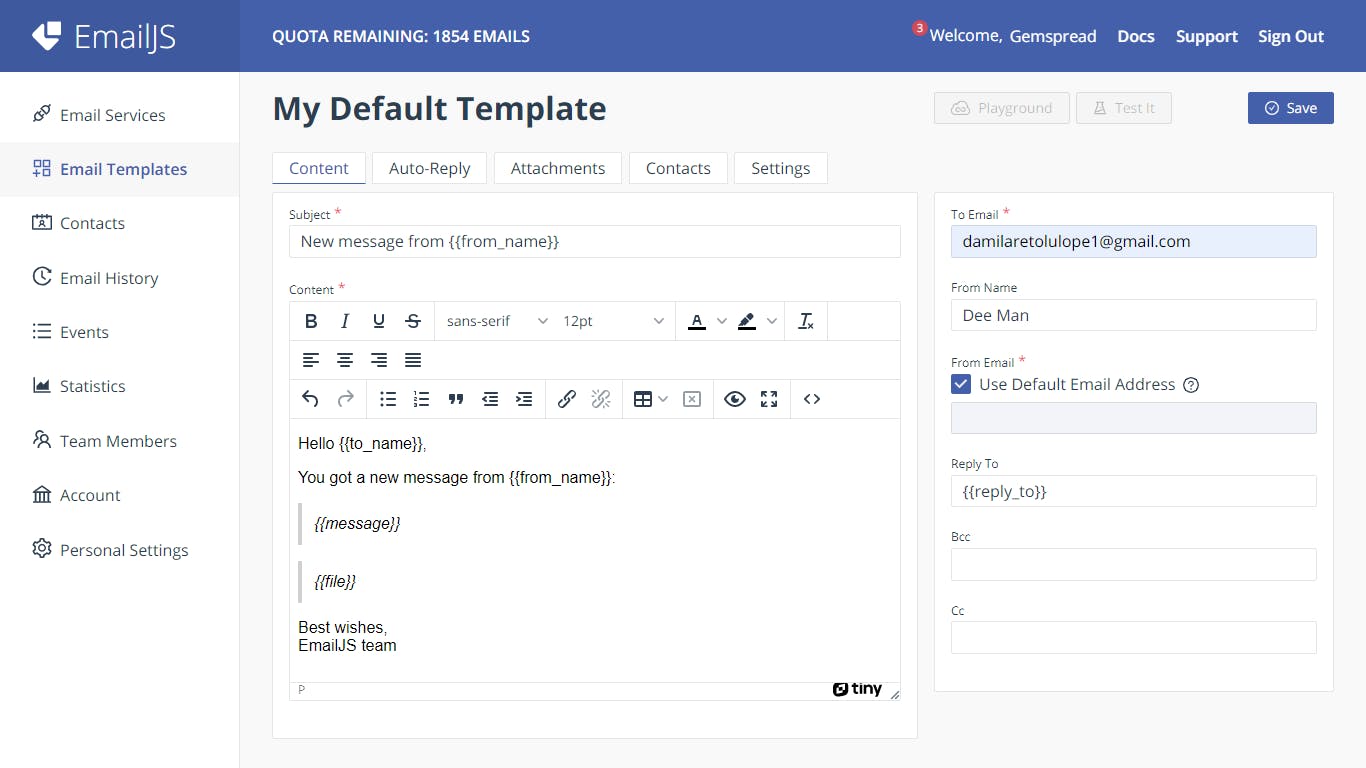
From Email - The email that will be receiving the response from the form
From Name - Name that will appear on the email
Subject - Subject of the email
Remember the emailParams we sent from the code, we will use the emailParams object properties as variables on the email template
 const emailParams = {
      to_name: "Recipient Name",
      from_name: "Your Name",
      message: "Email message here",
      file: reader.result;
    };
Conclusion
Here is the full code
import React, { useState } from "react";
import emailjs from "emailjs-com";

function App() {
  const [file, setFile] = useState(null);


  const handleSubmit = (event) => {
    event.preventDefault();

    //We need to convert the file to base64 so we use the inbuilt javascript
    // FileReader class
    const reader = new FileReader();
    reader.readAsDataURL(file);

    reader.onload = async (e) => {

    const serviceId = "YOUR_SERVICE_ID";
    const templateId = "YOUR_TEMPLATE_ID";
    const userId = "YOUR_USER_ID";

    const emailParams = {
      to_name: "Recipient Name",
      from_name: "Your Name",
      message: "Email message here",
      file: reader.result;
    };

    emailjs.send(serviceId, templateId, emailParams, userId)
        .then((result) => {
            console.log(result);
        }, (error) => {
            console.log(error)
        })
    }
  };

  return

  return (
    <form onSubmit={handleSubmit}>
      <label>
        File:
        <input type="file" onChange={(e) => setFile(e.target.files[0])} />
      </label>
      <button type="submit">Submit</button>
    </form>
  );
}

export default App;
Once you click on the Submit button, the email is sent to you From Email you entered just after few seconds.
Voila🎉.
